
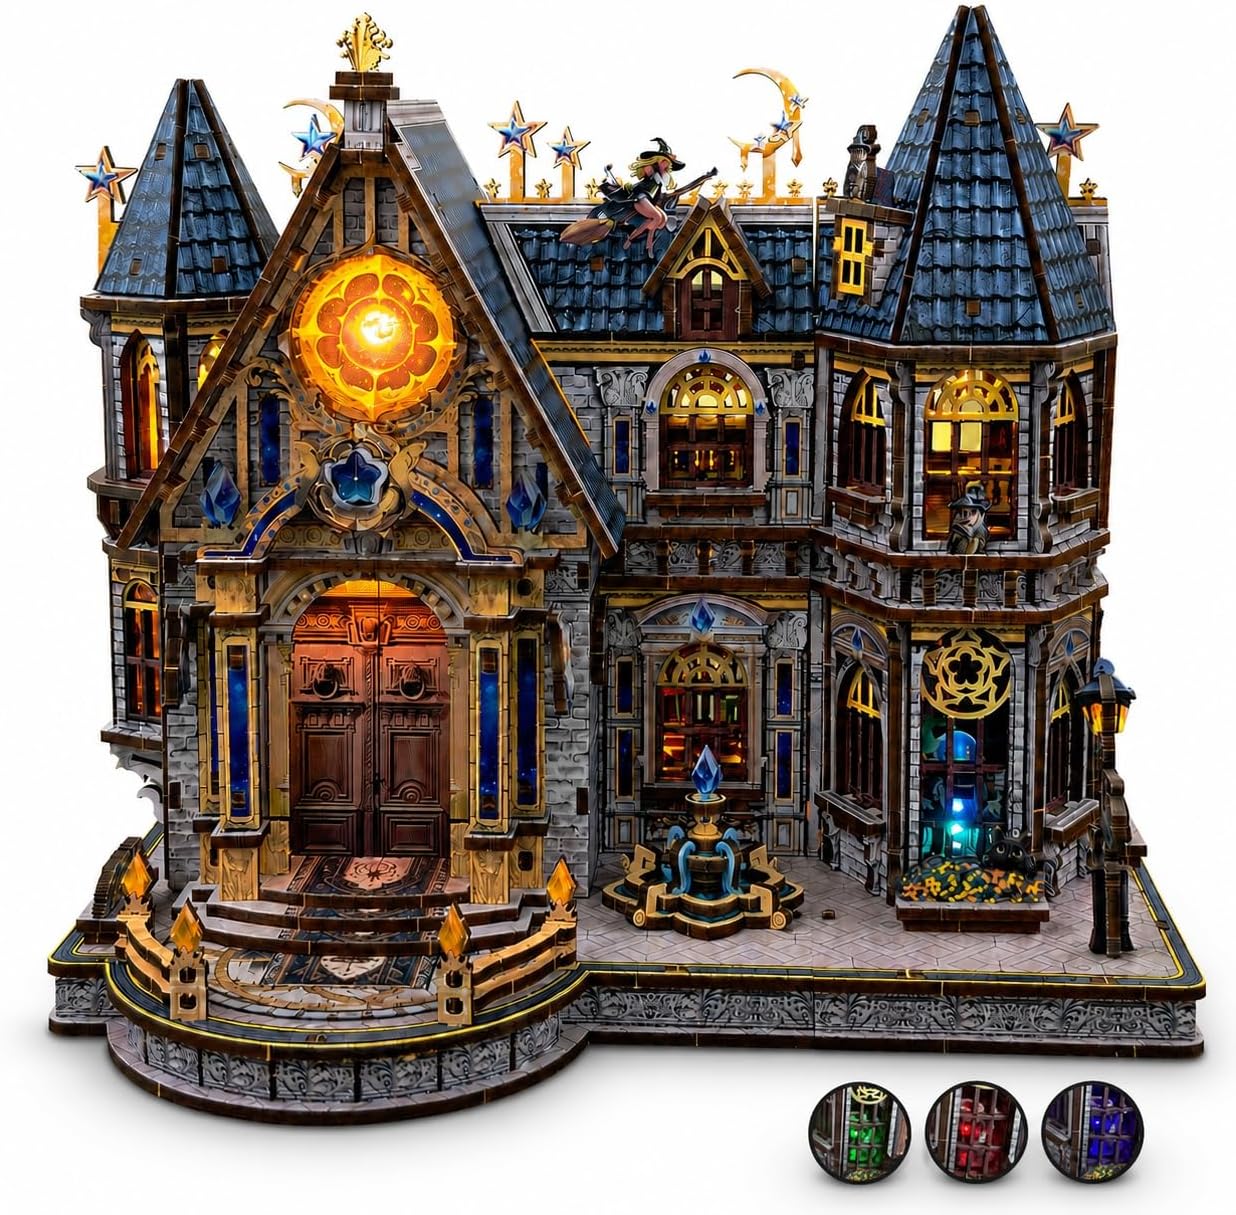
If your 3D wooden puzzle lights are not working, stop building at the next safe point, disconnect the specified power source and return to the lighting steps in that kit's instructions. Confirm that you are using the correct source, the switch or connector is in the position shown, and no accessible wire is trapped beneath a wooden panel. Test only at the stage the manual specifies. If a component looks damaged, becomes hot or still fails after the ordinary checks, stop using it and contact the seller through the purchase listing or Astshun&co support.
This is a general guide for adult model builders, not a wiring diagram. Astshun&co sells several illuminated wooden models, and their lighting arrangements are not identical. The Fantasy Castle has USB-powered color-changing LEDs; the Seaside Cabin lists USB-powered warm lighting that is connected after assembly. The Winter Cabin has warm LED illumination, but its product summary alone is not enough to prescribe a power connection. Always follow the instructions inside the specific kit.
What should you check first when the lights do not turn on?
Begin with the least invasive checks. Turn the light off or disconnect it, then compare the setup in front of you with the instruction diagram. Make sure the power source is the type specified for your model. Do not substitute a random adapter, cut a cable or attach bare wires to another source.
Check whether the design has an accessible switch or connector. If so, confirm it is seated and operated as directed. A connector that looks close to its socket may still not be fully joined. Handle the connector body rather than pulling on the wire, and never force a plug that does not match the socket.
If the kit uses a removable power source, follow its instructions for orientation and installation. Do not assume every illuminated house uses the same battery or USB arrangement. An illuminated landmark, coastal house and fantasy model can share an LED feature while using different assembly sequences.
Finally, look at the part of the build that was just completed. If the lighting worked before a roof or wall was fitted but stopped afterward, a wire may have shifted or become pressed between pieces. Disconnect power before inspecting the area. Open only sections the manual allows you to reopen safely.
When should you test LED lighting during assembly?
Test at the checkpoints shown in the supplied instructions, not at one universal step. Some kits route or test lighting before the surrounding structure closes. Others direct the builder to connect the light after assembly. The Seaside Cabin product information describes connecting its USB-powered LED light after assembly, so advice written for another model should not override that sequence.
A useful building rhythm is:
- Read the next several diagrams and locate the lighting stage.
- Keep the specified components together and away from sanding dust or drinks.
- Fit wooden structure and lighting parts in the prescribed order.
- Check accessible connections and wire placement before adding the next layer.
- Perform the test when the manual directs, then record whether it passed.
If the light works at one checkpoint, take a quick photo showing the connection and the surrounding parts. That record can help identify what changed if the light stops after a later step. Our complete wooden puzzle assembly guide covers how to coordinate lighting with the rest of the build.
How can wire routing affect an illuminated wooden model?
Small wooden panels can hide a cable once assembled. A wire placed across a tab, slot or moving section may prevent a panel from seating properly or create pressure on the cable. Compare its path with the manual before pressing the next piece into place.
Keep cables clear of sharp edges and moving features as the instructions show. The Fantasy Castle includes a rotating side wing, so the completed section needs its intended clearance. Do not thread a wire through an improvised route merely because it looks shorter. Do not glue a cable into place unless the manual explicitly requires it; that can make inspection or correction harder.
Wooden parts should fit without extraordinary force. If a wall suddenly resists at a lighting step, stop and look for a displaced wire before pressing harder. The problem may be fit or orientation rather than an electrical fault.
For a broader comparison of build styles, read mechanical vs. LED 3D wooden puzzles. It explains why lighting adds a different kind of planning than a moving axle or wheel.
What if the light worked earlier but stopped after assembly?
First, switch off or disconnect the power source. Note the last stage at which the light worked. If the kit provides normal access to a switch, connector or power compartment, inspect those points using the manual. Do not pry apart a finished wall or roof simply to reach hidden wiring.
Look for an obvious loose connection or visible cable caught where two wooden surfaces meet. If you cannot reach the area without stressing the model, stop. Photograph the finished model, the connection you can access and the relevant instruction step. Those details are more useful to support than a description such as "the lights stopped."
When contacting the seller, include the product name, purchase channel, the step where the light last worked, and whether the issue began before or after a particular piece was installed. Ask for the correct product-specific guidance. A seller can help determine whether the problem is an assembly step or a faulty component; do not assume replacement parts are automatically available.
Which lighting details differ across Astshun&co models?
The same symptom can appear on models with different intended behavior. Use these product facts to identify the model, then follow its own manual.
| Model | Verified lighting description | Check the kit instructions for |
|---|---|---|
| Winter Cabin | Warm LED light in the house and outdoor firewood scene | Its exact power and connection sequence |
| Big Ben Clock Tower | Warm lighted landmark display | Its lighting checkpoints within the tall build |
| Fantasy Castle | USB-powered color-changing LED atmosphere | The supplied USB connection and allowed light modes |
| Seaside Cabin | USB-powered warm LED light connected after assembly | The final connection step and accessible cable path |
These differences are a reason not to copy a fix from a video of another brand or model. The full 3D wooden puzzles for adults collection links to each Astshun&co product page so you can confirm which model you own.
What should you avoid doing while troubleshooting?
Do not work on an energized connection, cut or splice the kit wiring, or use a power source that is not specified for the product. Avoid forcing a reversed connector, spraying cleaner near lights, or burying a cable beneath a panel that will press on it.
If a component shows visible damage, unusual heat, smoke or a burning smell, disconnect it if safe to do so and stop. Do not keep turning it on to see whether it recovers. Contact the seller or manufacturer for product-specific instructions.
The goal is to keep the model intact while identifying a simple setup issue. More invasive work can damage wooden tabs as well as lighting parts. If a structural piece has already cracked, our broken wooden puzzle piece guide explains how to assess the wood separately from the lighting problem.
Frequently asked questions
Why did my wooden puzzle lights stop working after I added a wall?
An accessible connector may have shifted or a wire may have been pressed by the new panel. Disconnect power, review that step in the manual and inspect only areas designed to remain accessible.
Can I use a different USB adapter for my model?
Use only the power source and specifications stated in your kit instructions. This article cannot verify an adapter for every model.
Should I test the LEDs before the model is finished?
Test at the stage specified by the individual kit. Some models call for an earlier check, while the Seaside Cabin product information describes connecting its light after assembly.
Can I fix a broken LED wire with glue?
Glue is not an electrical repair. If a wire or connector appears damaged, stop using the lighting component and request product-specific help from the seller.
What information should I send to support?
Include the model name, purchase channel, the instruction step involved, when the light last worked and clear photos of the accessible connection. Do not send payment credentials or private account details.