
To read 3D wooden puzzle instructions, start with the kit's parts list and symbol key, then follow each numbered step in order. Match the illustrated part to its labeled sheet, compare the diagram's viewing angle with the piece in your hand, and check the next step before pressing a joint together. Symbols and numbering systems vary between kits, so use the legend in your own booklet rather than assuming every arrow or icon has the same meaning.
A diagram tells you more than which pieces to connect. It can show which face points outward, where a slot receives a tab, whether a small assembly repeats and when a light or moving part needs attention. This guide explains a practical way to interpret those details. For the broader process, see how to build a 3D wooden puzzle.
What should you look at before step one?
Read the opening pages and locate the parts inventory, sheet map and any key explaining the symbols used in the booklet. Compare the numbered or lettered sheets with the list in your kit. Check separately packaged parts as directed, keeping tiny components in their bags or a labeled container until needed. The contents and layout are specific to the model; the seller's current listing and the manual supplied with it are the sources for exact parts.
Next, skim the major stages without removing pieces. Notice whether the build starts with a base, a mechanism or a separate wall, and where lighting appears in the sequence. You do not need to memorize the booklet. Looking ahead simply helps you understand which surfaces will be enclosed and which parts should remain accessible.
Set the instruction booklet beside a clear, well-lit work area. Keep unused pieces in their labeled sheets and use a tray for only the current step. Our guide to organizing wooden puzzle pieces offers a simple setup. If a piece comes loose early, label it using the sheet map rather than placing it in an unmarked pile.
How do you match a numbered part to the correct sheet?
Find the part identifier in the instruction step and locate the same identifier on the sheet map or board. Then compare the outline: width, notches, tabs and any printed face. Numbers are useful, but the picture provides a second check. A similar rail or wall may differ by only one opening.
Before releasing a piece, confirm how many of it the step calls for. A diagram may show a repeated subassembly or several similar parts. Read the kit's notation and key; do not assume a small number always means the number of copies. Leave the remaining pieces attached until their turn so their labels remain easy to find.
Support the sheet and use the release method specified in the manual. If a narrow tab resists, stop and inspect the attachment points. The separate guide to removing wooden puzzle pieces covers this step in more detail.
| In the booklet | What to verify before acting |
|---|---|
| Part identifier | Match the sheet and outline in your own kit |
| Arrow or symbol | Read its meaning in the kit's key |
| Repeated diagram | Check how many assemblies are required |
| Close-up inset | Compare the connection and viewing angle |
| Completed step | Confirm the subassembly matches before continuing |
How can you tell which way a piece faces?
Begin by finding a feature that is easy to recognize in both the diagram and the actual piece: a notch, window opening, printed surface or asymmetrical tab. Hold the part so that feature is in the same position as the illustration. Then compare the remaining edges. Do not force a piece simply because one tab appears to line up.
If the diagram shows the model from the back or underside, turn the entire partial assembly on a supported surface to match that view. A side that appears to be on the left in one image may be on the right when viewed from the other side. Check the preceding and following illustrations to understand the change in perspective. Keep loose components supported as you reposition the build.
For similar mirrored parts, compare both at once. Lay them beside the diagram and look at the direction of the notches. If the manual uses color or shading to distinguish a face, consult its key and check the actual printing. The guide's example is a method of checking, not a universal rule for all kits.
What should you do when an arrow or close-up is unclear?
Return to the symbol key first. An arrow may indicate movement, orientation or another instruction defined by that particular booklet. A magnified inset can clarify a small joint, but it may also show a different angle from the main diagram. Locate the same landmarks in both images before proceeding.
Read the next step to see what the completed subassembly should look like. If the following wall needs a slot on the outside, that may help you check whether the current wall is reversed. A photo of your progress can be useful when comparing a partly assembled structure with the drawing.
If the fit remains uncertain, stop and ask the seller rather than cutting, sanding or gluing a part based on a guess. Include the product name, step number, part identifiers and a clear photo of the current assembly. Our pieces not fitting checklist provides more checks before making adjustments.
How should you read lighting and mechanism steps?
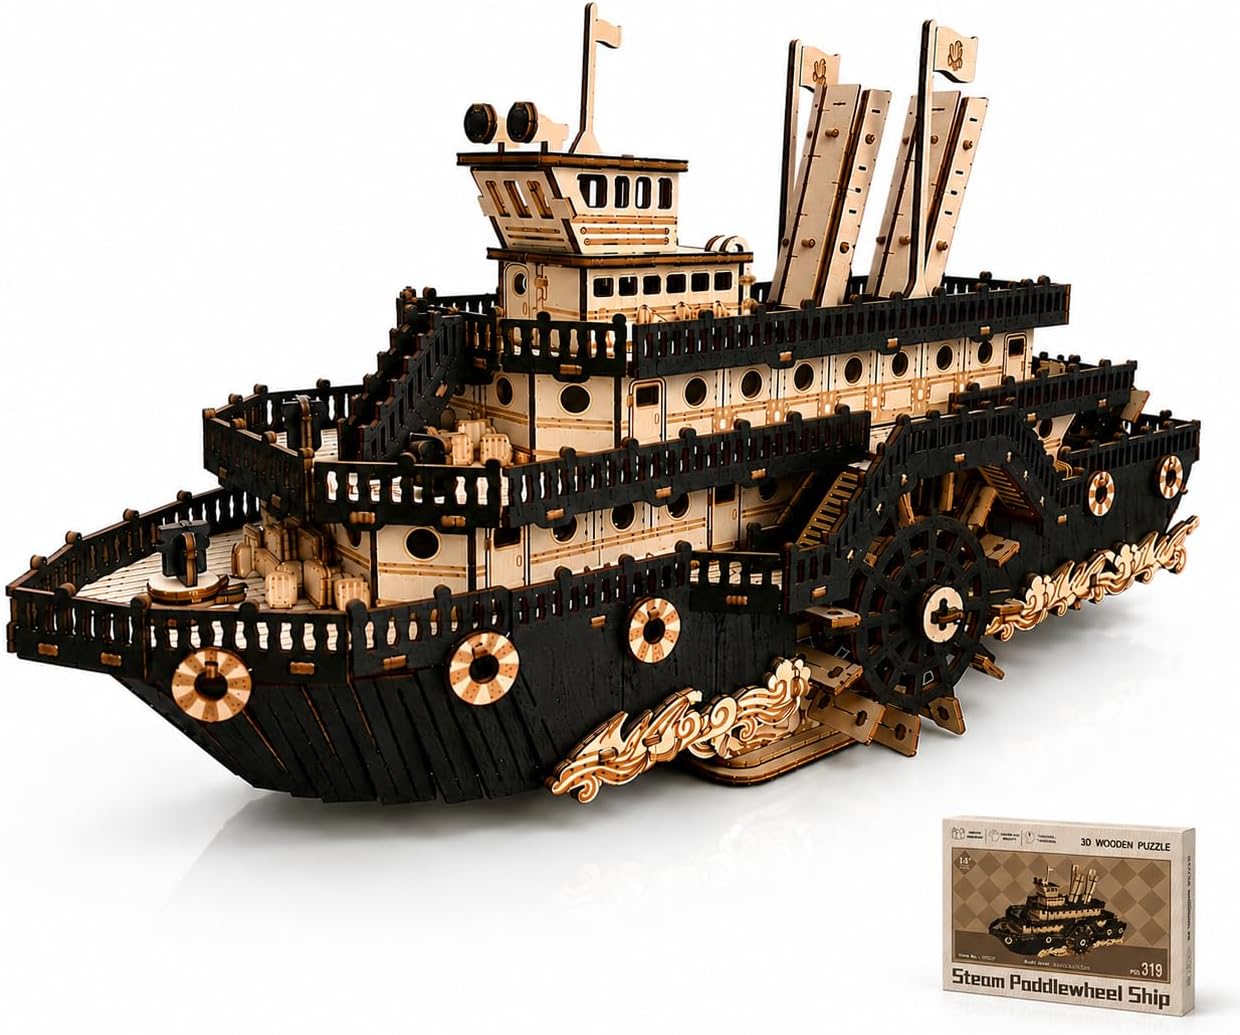
Follow the sequence and test points in the specific model's manual. The Paddle Steamer has a manual axle connected to paddle wheels, so the relative position and order of mechanism parts matter. Do not glue or lubricate a moving joint unless the instructions direct it.
The Provence Flower Shop includes warm LEDs and a touch switch; its current listing specifies two AAA batteries, not included. The Magic Carriage uses USB-powered lighting. These are different power arrangements. Follow the supplied instructions for each model, disconnect power before inspecting accessible connections and avoid trapping a cable between wooden panels. For power comparisons, see battery versus USB wooden puzzles.
After a stable subassembly is complete, compare it with the booklet before closing the next section. If you pause, mark the next step and keep current parts labeled. Our unfinished puzzle storage guide explains how to protect the project between sessions.
What if the instructions are missing or a part seems absent?
Check the box and packaging carefully, then contact the seller through your purchase channel or Astshun&co support. Provide the model name and explain what is missing. If a numbered part cannot be found, the missing-piece guide explains what to check and photograph. Do not substitute an unrelated manual solely because two models look similar.
Every builder brings a different pace to a project. Astshun&co's story celebrates the time and patience behind a finished model, and reading a diagram carefully is part of that process. Browse the 3D wooden puzzle collection for house, architecture and mechanical themes.
Frequently asked questions
Are all wooden puzzle instruction symbols the same?
No. Check the key supplied with the specific kit before interpreting arrows, icons or numbers.
Should I remove every piece before reading the instructions?
Usually it is easier to keep pieces in labeled sheets and release only those needed for the current step.
What if a diagram looks different from my partially assembled model?
Check the viewing angle, part numbers and previous steps. If the difference remains unclear, photograph the assembly and contact the seller before forcing a joint.
Where can I get help with an Astshun&co kit?
Use the seller's purchase channel or contact Astshun&co, and include the model, step number, part identifier and a clear photo.