
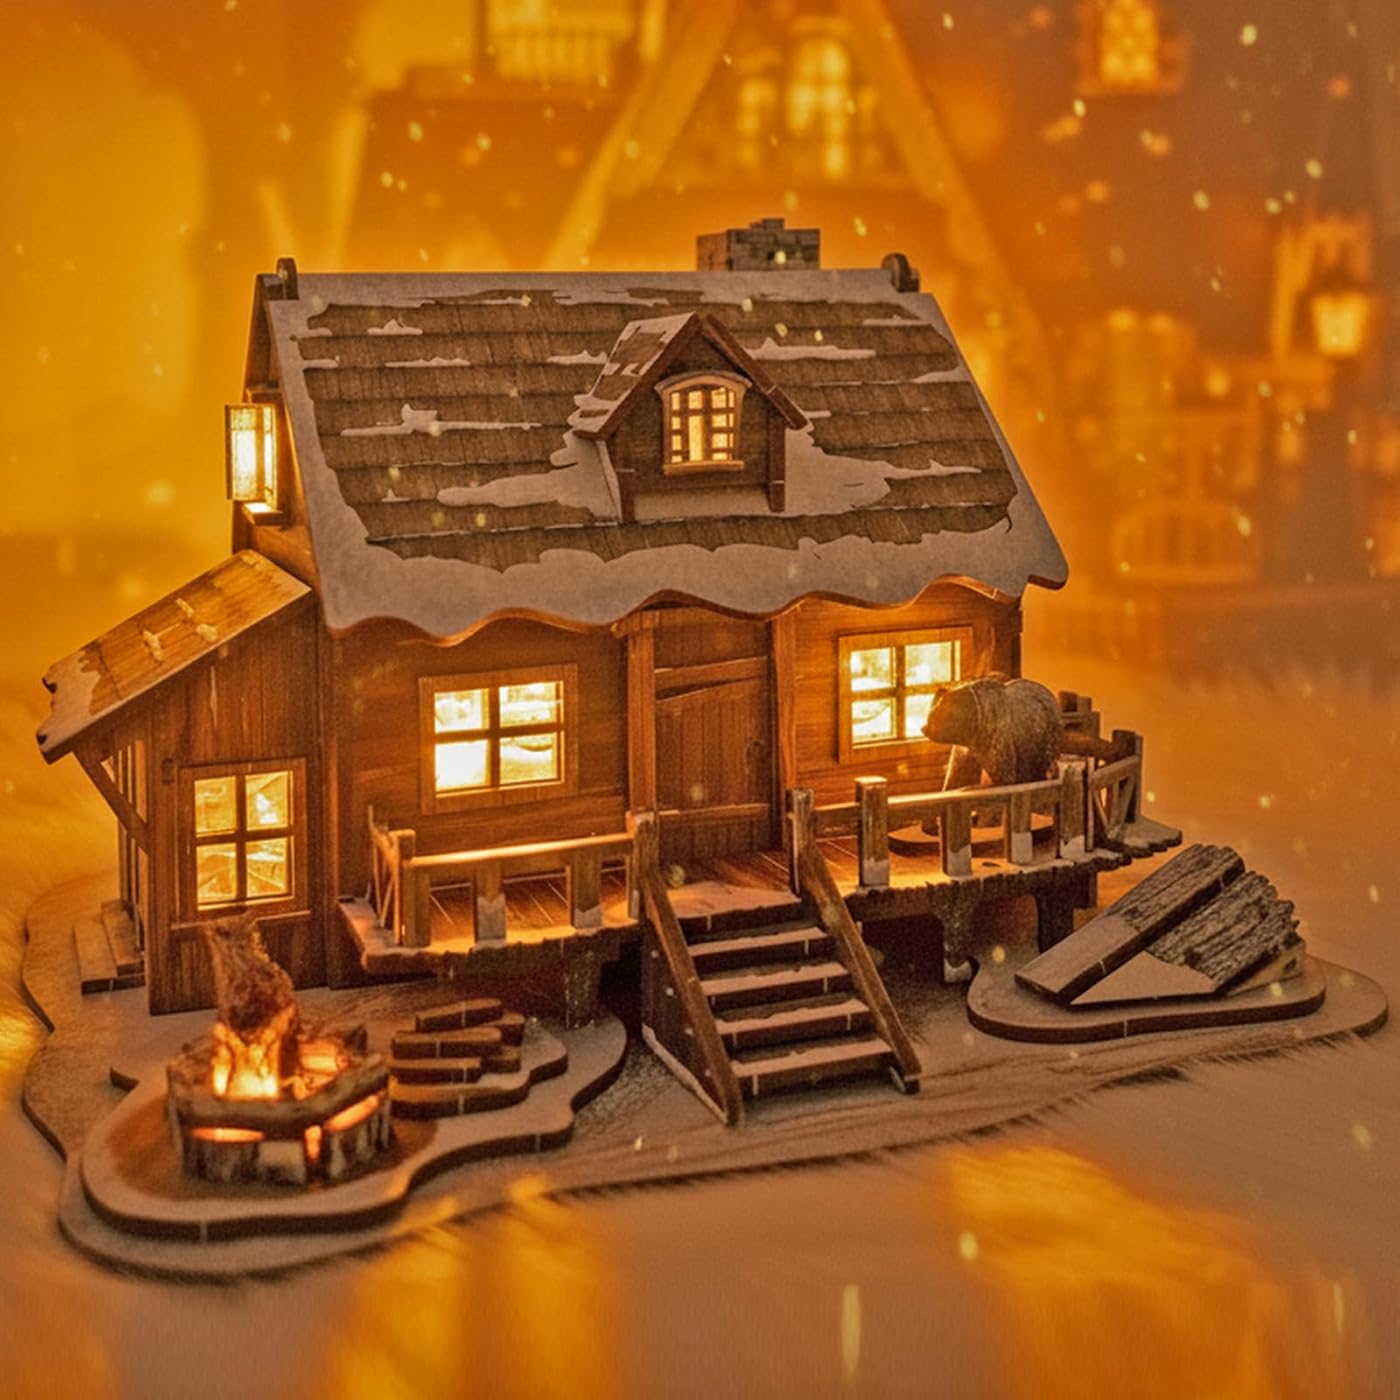
Some 3D wooden puzzles can be painted, but not every surface should be. Before changing a model, read its own instructions, identify preprinted or finished parts, and test your chosen paint on a spare offcut or hidden area. Keep paint out of tabs, slots, gears, switches, connectors and LED components. A thin coat that looks good on a broad wall can still make a fitted joint too tight. If the kit already has the color and detail you like, leaving it as designed is a valid choice.
This is a guide to deciding *whether* to customize, not a claim that every Astshun&co model is designed to be repainted. Our 3D wooden puzzles for adults include predesigned houses, a landmark, a fantasy castle, a mechanical steamer and wooden sculptures. Their materials and features differ, so treat the exact kit instructions as the authority for that model.
Why does painting a wooden puzzle take more planning than painting a wood panel?
A flat wood panel only needs to accept a finish and stay flat. A 3D puzzle piece often has two jobs: its visible face establishes the design, while its narrow edges form a joint with another piece. Paint adds thickness. If it builds up on a tab or inside a slot, the pieces may no longer fit as intended. Pressing harder can damage a thin wall, railing or tab rather than solving the problem.
Some parts also carry numbers or orientation marks. Covering those before assembly makes the instructions harder to follow. Other parts may be printed with windows, masonry, wood grain or scenery that paint would conceal. Lighting and movement bring additional boundaries: paint does not belong on electrical contacts, LEDs, gear teeth, axles or bearing surfaces.
Rolife's wooden-model painting guide likewise recommends testing a scrap piece and avoiding tabs and slots before assembly. That advice is useful as a general method, but it is not a compatibility guarantee for a different brand or a particular printed finish.
Which parts are candidates for paint, and which should stay clear?
Make a simple map before opening a paint bottle. Look at the assembly diagram, then separate visible decorative faces from surfaces that connect, move or conduct power.
| Surface | Practical decision |
|---|---|
| Broad, visible wooden face | Consider a small test only if the manual permits customization |
| Printed or already colored face | Leave it intact unless you accept covering the original design |
| Tab, slot or close-fitting edge | Keep free of paint so the intended fit remains available |
| Gear tooth, axle or moving contact | Do not coat; added material may obstruct movement |
| LED, wire, switch or connector | Keep paint and wet materials away from electrical parts |
| Acrylic display panel | Treat separately from wood; do not assume the same paint adheres |
The distinction matters across the collection. The Winter Cabin has an opening roof and illuminated interior; a new color on a broad external surface is a different proposition from coating the roof's working connection. The Fantasy Castle has a rotating side section and color-changing light, so moving and illuminated elements need particular care. The Paddle Steamer uses a manual axle to move its paddle wheels; leave that mechanism as the instructions specify. None of these examples is a promise that paint is recommended for that product.
Should you paint before or after assembly?
Before assembly gives access to a face that may later sit behind a railing or roof. It also makes it easier to keep a broad panel level while a thin coat dries. The trade-off is that part labels and fit surfaces may be harder to recognize. Keep each piece in its numbered sheet until you need it, photograph the layout, and mark no surface until you know which side faces out. Our piece-organization guide explains why taking every part out at once creates avoidable confusion.
After assembly lets you see the complete color balance and avoids covering a numbered sheet prematurely. It is harder to reach recessed details, and there is greater risk of touching the backdrop, LEDs, windows or adjacent painted surfaces. Do not dismantle a delicate, completed model just to reach a hidden face unless the instructions describe safe disassembly.
There is no universal best stage. Rolife's miniature-paint guide describes both approaches: small areas may be more accessible before assembly, while larger areas can be handled afterward. For your model, choose the stage that keeps essential joints, markings and electronics protected.
What paint should you test on a wooden model?
Water-based artist acrylic is a common starting point for craft customization, but “acrylic” alone does not prove that a particular paint will adhere to every printed or finished puzzle surface. Test the actual product on an offcut from the same sheet or on an inconspicuous location. Let it dry according to the paint maker's instructions, then inspect whether the color covers evenly, remains where applied and changes the part's dimensions. Do not use a fitted tab as the test area.
Liquitex's surface-preparation guidance emphasizes checking compatibility before applying acrylic to a new material or finish. That is especially relevant to a kit containing wood, printing, acrylic panels and lighting in the same scene. A result on bare offcut wood does not automatically predict the result on a printed window or clear backdrop.
Avoid soaking wood with paint or water. Work in thin applications, allow the product's stated drying and curing time, and keep loose parts on a clean, protected surface. Follow the paint label for ventilation and handling. If you want a different finish, compare the maker's guidance for that specific coating rather than layering unfamiliar products by guesswork.
How can you personalize a model without repainting the whole kit?
Start with the effect you want. If the goal is to make the miniature feel more personal, an all-over color change may not be necessary. Choose a display location, background or neighboring objects that bring out its existing palette. The Seaside Cabin with Acrylic Backdrop, for example, already uses a separate scenic panel to extend its waterfront setting. The Hawaiian Beach House includes tropical details and an acrylic greeting card that can act as a display backdrop. These built-in elements are easier to assess before deciding whether any permanent change is worth making.
If you do paint, keep the idea small: one visible, nonfunctional surface or a detachable decorative element, provided the instructions allow it and the test succeeds. Photograph the original piece first. A restrained accent is easier to control than recoloring a complete model with windows, interiors and wiring already installed.
Think about the model's future too. A color change may make a replacement part visually inconsistent, and a painted joint can complicate a later repair. The guide to glue and wooden-puzzle joints explains why both paint and adhesive should stay away from moving or close-fitting connections. If a piece is damaged, solve the fit or repair question first; paint should not be used to hide a structural problem.
Astshun&co's brand story is about the time and choices a builder brings to a small world. Personalizing a model can be part of that experience, but careful assembly and the place you choose for the finished piece are personal choices too. Keep the structure working, preserve the details you value, and let the finished model reflect the builder rather than an assumed need to modify everything.
Frequently asked questions
Can acrylic paint make wooden puzzle pieces stop fitting?
Yes. A coating on a tab, slot or closely fitted edge can add enough thickness to resist assembly. Keep those surfaces clean, test on a nonfunctional offcut, and do not force a painted joint.
Is it better to paint a 3D wooden puzzle before building it?
Painting a visible face before assembly can make that face easier to reach, but it can also cover part numbers or coat a joint. Read ahead in the manual and identify the outward-facing surface first. Some accents are easier after assembly.
Can I paint over printed details on a miniature house?
You can physically cover some printed surfaces, but the original texture or artwork may be lost and paint adhesion may differ from bare wood. Test the exact surface and decide whether you are comfortable changing the design permanently.
Should I paint LED or mechanical puzzle parts?
Keep paint off LEDs, wires, switches, connectors, gears and axles. Follow the model's instructions for any work near those features. If a part is already assembled, do not brush wet paint into a narrow opening around it.
Do Astshun&co kits require painting?
No painting step is established by the product information used in this guide. The models are presented with their own finished visual designs. Check the current listing and instructions for the exact kit you own before adding paint or any other material.