
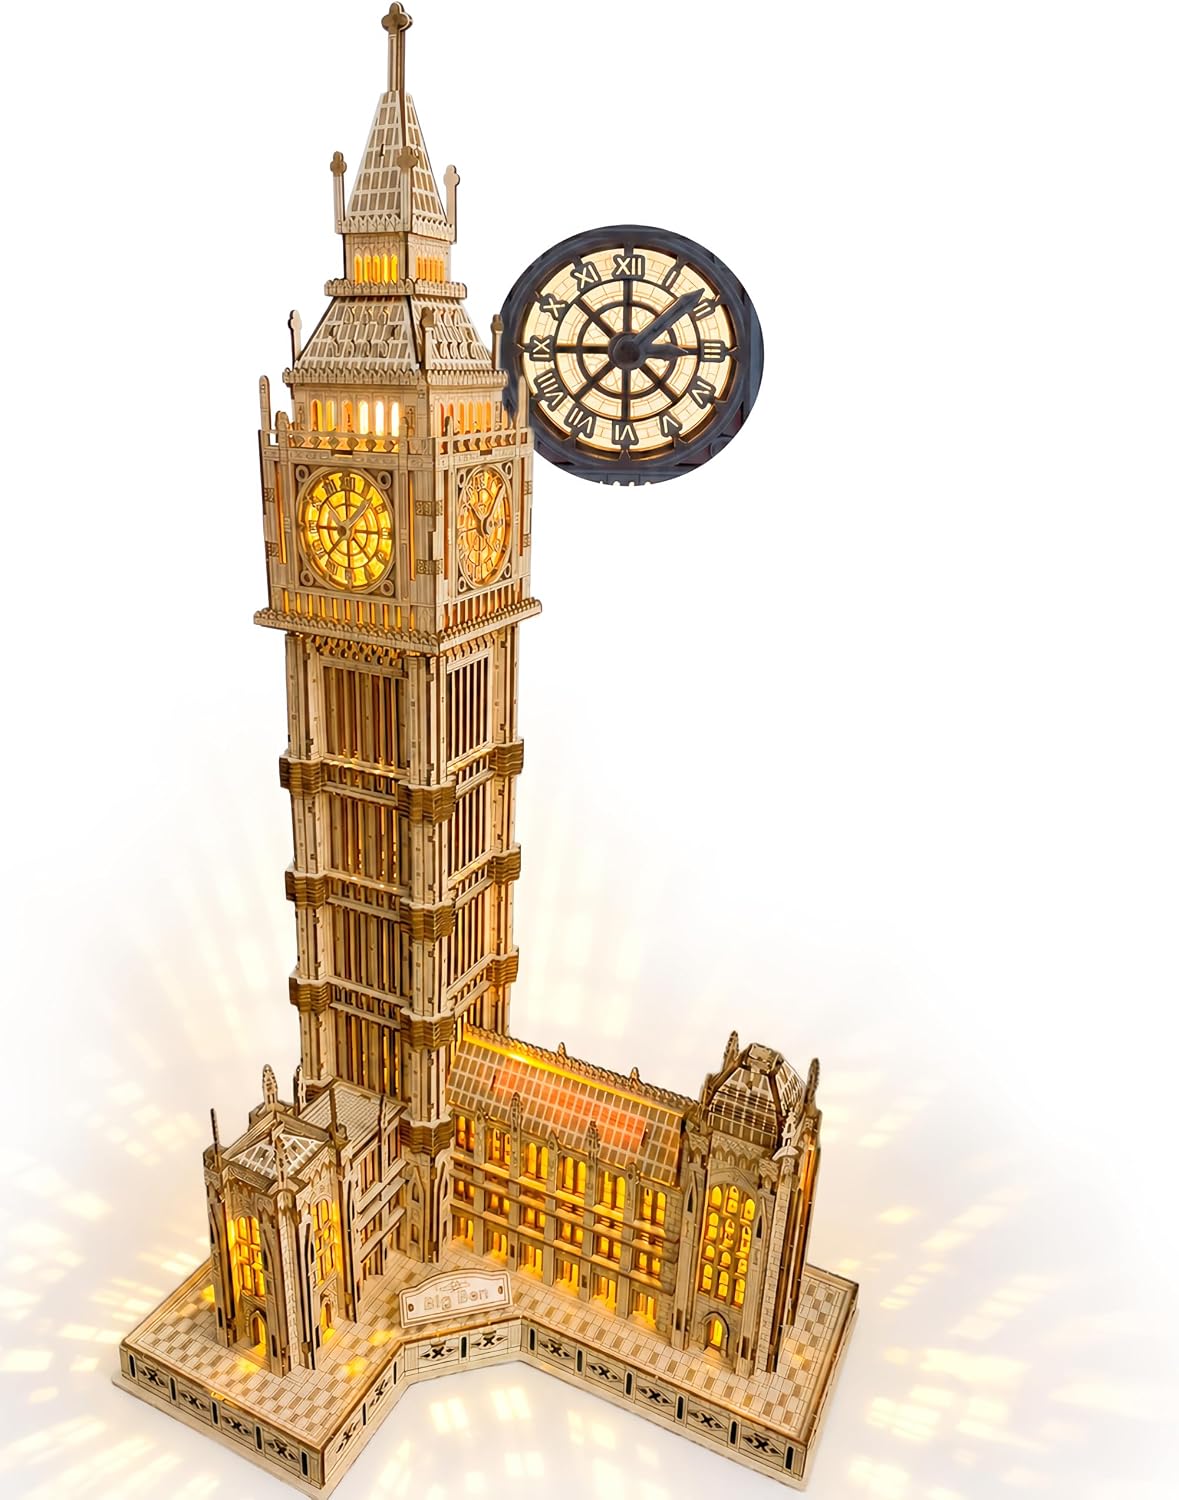
To photograph a finished 3D wooden puzzle, start with one clear view of the entire model, then make a few closer images that show what makes it special. Place it on a stable surface, clear distractions from the background, and use soft light from a nearby window or lamp. Photograph illuminated details with the room dimmed slightly, not in complete darkness. A phone camera is enough if the subject is sharp and the model is not cropped.
You do not need a studio setup to record a build for yourself or share it with a friend. What matters is helping the viewer understand the model's shape, scale and most interesting feature. This guide covers a practical sequence for 3D wooden puzzles, including miniature houses, architecture and a mechanical ship. It focuses on photography; our display and care guide covers where to keep a model after the photos are taken.
How should you prepare the model and background?
First, finish any ordinary assembly checks in the supplied manual. Confirm that a movable section sits in its intended position, loose accessories are placed where they belong, and lighting cables are routed as instructed. Turn the model off while repositioning it. If a piece is missing or broken, consult our missing-piece guide before trying to hide the issue in a photograph.
Set the model on a level table or shelf with enough room to move your phone around it. Avoid picking it up by a roof, turret, wheel or other delicate detail. If you need to relocate it, support the base with both hands; our moving guide explains why that matters. A plain wall, a bookshelf with a little breathing room, or a simple cloth backdrop can all work. Remove bright packaging, tangled cords and unrelated objects that compete with the model.
Use a soft, dry brush to clear loose dust from accessible wooden surfaces. Do not spray cleaner onto the model or its electrical parts. You may leave a few relevant objects in the frame, such as a book beside a fantasy scene, but keep them secondary. If you are photographing a product for an accurate listing or review, avoid props that make the included contents unclear.
Which light makes wood and LED details look natural?
For the first photograph, use diffused daylight near a window or a broad room lamp. Place the model so light reaches its front and one side. That reveals depth in laser-cut layers and keeps dark recesses from becoming a single black area. Direct midday sun can produce harsh shadows and glare, especially on acrylic details or glossy surfaces. Move slightly away from the window or soften the light with a curtain.
If the model has LEDs, take two versions of the same angle: one with its lights off to show the wooden structure and another with them on to show the atmosphere. Lower the room light enough for the LEDs to register, while keeping some light on the wood. If the room is completely dark, the photograph may show glowing windows but lose the shape of the house around them. Tap the main model on your phone screen to set focus and adjust exposure until lit windows keep visible detail.
The Winter Cabin is a useful example. Its snow-edged exterior, opening roof and warm LEDs tell different parts of the story. Photograph the front in soft light, then make a separate illuminated image. The Provence Flower Shop has warm-lit arched windows and floral details; a front three-quarter view can show both the facade and the outdoor display. Use only the power source and switch arrangement specified for each kit. Our battery versus USB lighting guide explains why power and cable access differ among models.
What angles tell the full story of a wooden model?
A useful set has three to five images. Start with a straight or slightly angled view that includes the entire base. Next, move to a three-quarter angle so the viewer can see depth. Then choose one or two close details: a clock face, doorway, wheel, tiny flower arrangement or lit window. Finally, include a view that explains a distinctive feature rather than repeating the same front view.
For the Big Ben Clock Tower, keep the full height in at least one frame. Moving too close can cut off its spire or make the lower tower and attached building seem unimportant. A second photo can focus on the clock and layered architecture. For the Paddle Steamer, show the ship's length and side paddle wheel in the main frame; a close image of the manual axle and wheel helps explain its moving mechanism. A still photograph cannot demonstrate motion by itself, so a short video may be more informative for that feature.
For a fantasy miniature such as the Magic Carriage, give the mushrooms and portal room around the edges. A tight crop may hide the scene that makes the model distinct. Its color-changing mushrooms and warm campfire light can be photographed at different moments, but do not combine exposures in a way that suggests a lighting mode the product does not have. The Fantasy Castle also has a broad base and color-changing light; include an overall view before highlighting its rotating side wing.
| Photo | What it should answer |
|---|---|
| Full model | What does the completed puzzle look like? |
| Three-quarter view | How deep is the structure or scenery? |
| Feature close-up | Which detail makes this kit distinctive? |
| Lit view, if applicable | How does the specified LED system change the scene? |
How can you keep the photo honest and useful?
Use a clean image, but avoid changing the number of parts, model proportions, wood color or lighting effects in editing. A dramatic background is fine for a personal post when the actual product remains recognizable. If you share an illustration or AI-created lifestyle image, label it as such and also provide a real product photo when exact appearance matters. This is especially important for small architecture details that can be unintentionally simplified by generated imagery.
When posting a build, identify the model by its correct name and link to its current product page. Do not state an assembly time based only on how long your own photo session took. If you are giving the completed model to someone, a printed image of an early build stage beside the final view can become a small record of the time you put into it. That fits Astshun&co's story: each maker brings a little world to life through their own patience and choices.
Frequently asked questions
Do I need a camera to photograph a 3D wooden puzzle?
No. A phone can make clear images when the model is steady, the background is simple and you tap the subject to focus.
Should I photograph LED wooden puzzles in the dark?
Dim the surrounding light enough to see the LEDs, but keep some soft light on the wood. Make an additional photo with the LEDs off to show structure and color.
Which angle should be the first image?
Choose an uncropped view of the entire model and base. Detail photographs work better after the viewer understands the complete shape.
Can I use AI to improve my product photo?
Use generated scenes as creative illustrations, and check them against the actual model before sharing. Keep a genuine product photograph available when exact architecture, included parts or lighting details matter.